In part 1 of this article we gave you the first of our special set of articles on potting mixes. We looked at the different types of potting media available for home growers and we found out about lots of different types of peat. We also told you a little bit about the RHP, the industry’s certification organization.
In this article we’ll be looking into the structure of potting soils and the differing products obtained from the different methods of cutting peat. On top of all this useful information we’ve worked out some valuable tips for you to reduce disease and increase yield and we’ve drawn up that promised list of FAQs and growing tips.
But we’ll start off by discussing how best to measure the nutrients present in your growing medium. This will also come in handy towards the end of your grow, when you decide whether or not to reuse your potting soil. More about that elsewhere in this article where we talk about rejuvenating the potting soil.
Reliable measuring method
The most reliable way of measuring the nutrients present in the soil is to use the 1:1.5 extraction method, which is used to determine the root environment’s EC and pH. The EC and the pH of the drainage water will vary because soil and soiless mixes are capable of holding back a number of elements while excluding others. It is best to carry out a 1:1.5 analysis after three to five weeks of cultivation. The easiest way to make this analysis is to follow the plan given below step by step:
- Take a soil sample. This can be done with a ground drill or a spoon. Take the soil from a large number of different places (and pots) to ensure that the sample is representative.
- Put the sample in a bowl and determine if it is moist enough. This is done by squeezing some soil in your hand; if moisture just barely comes out it is OK. To increase the sample’s moisture content add distilled water. Mix the soil well after adding water.
- Take a 250 ml measuring jug and fill it with 150 ml of distilled water. Add soil to bring it to 250 ml, mix it well and leave it for at least 2 hours.
- Mix it well once again and measure the pH.
Filter the mixture that you now have and measure the EC. Target values for the EC are between 1.1 and 1.3 and for the pH between 5.8 and 6.2.
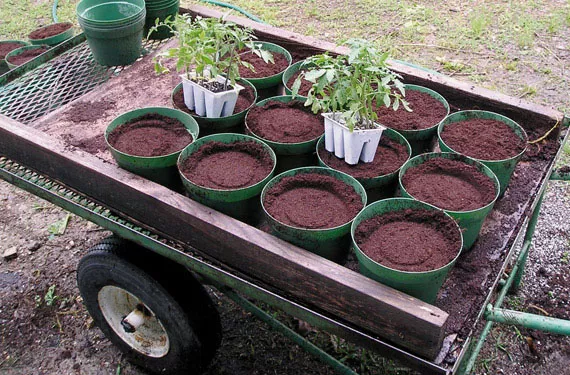
Structure of potting soil
The structure of potting soil determines how much water and air are available to the roots. Air is important for the roots’ oxygen supply and for the micro-organisms in the root environment. Roots need oxygen for growth, maintenance of the root system, and the uptake of water and nutrients. The provision of a good supply of air for fast growing plants is of vital importance for obtaining good results. A shortage of air in the early stages of cultivation leads to a poorly developed root system, which hampers growth resulting in a smaller yield. Air (Oxygen) moves from the air supply outside or in the growing room, through large pores in the medium to the root surface by diffusion.
The structure of the potting soil in use is dependent on the quality of the raw materials comprising the soiless potting mix. The best soiless potting media starts with virgin peat that has long-term stable structural characteristics.
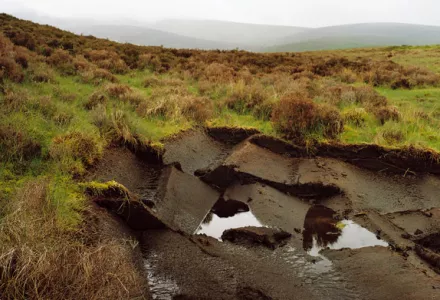
High and low
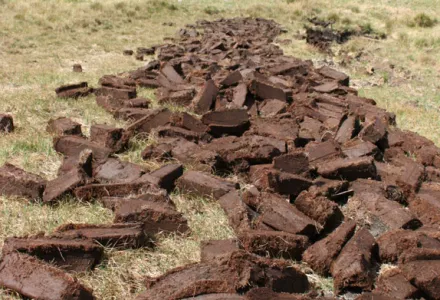
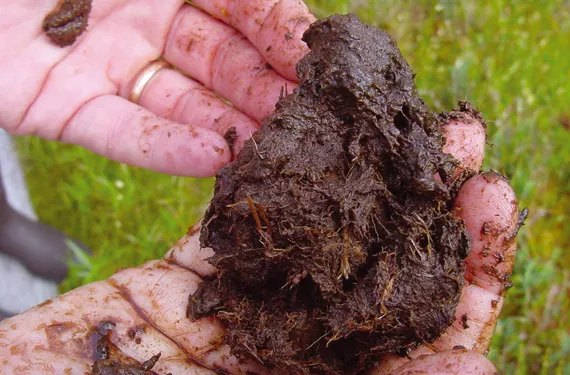
One of a potting medium’s main ingredients is peat. This is a century’s old, naturally occurring material formed from old vegetation. Peat originates from regions where climatic circumstances caused new plant material to form faster than the dead vegetation could rot. Slowly but surely this process built up a layers of organic materials that become several metres deep in some locations. Two different types of peat can be differentiated:
1. High peat; High peat is formed under the influence of rainwater in low nutrient regions and its principal ingredient is sphagnum moss. This is a small plant that dies off from below while continuing to grow above on its own remains. The remains of other plants are also found here; grasses, tree limbs and leaves for example.
2. Low peat; Low peat is formed in regions where groundwater levels are high and there are plenty of nutrients. Low peat typically contains a high proportion of rotten material and can have high levels of silt; sand and harmful salts which makes it an unsuitable base for a good potting soil.
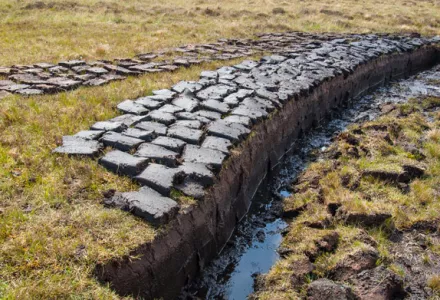
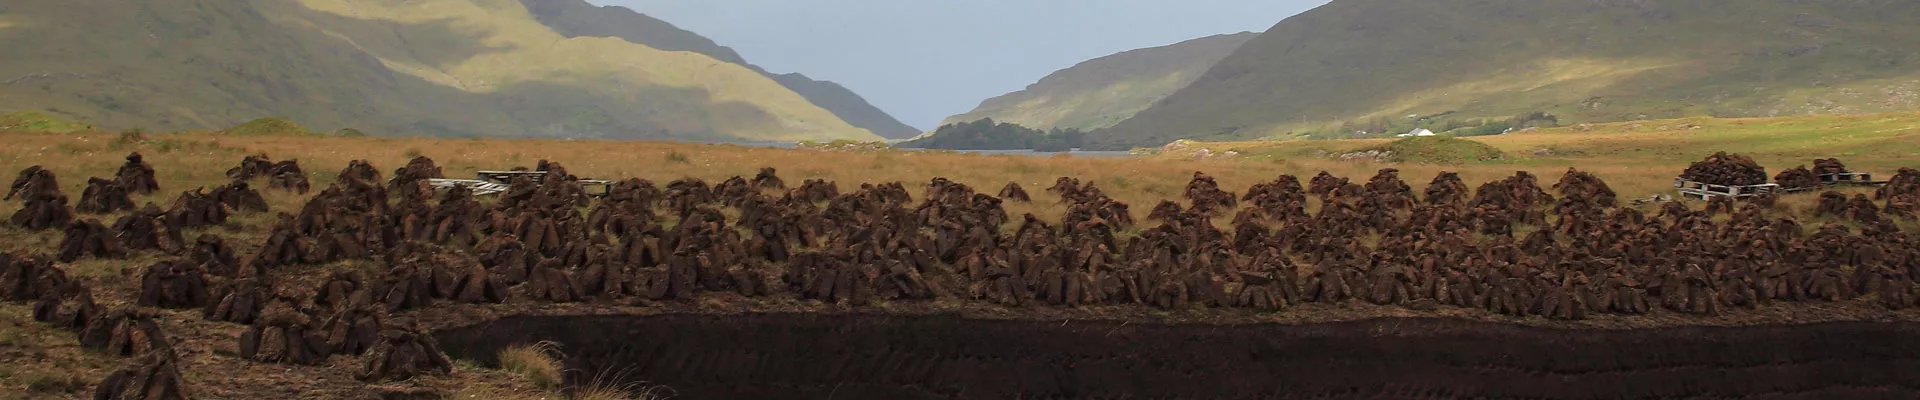
Vertically cut or shaved peat?
Two different methods of harvesting can be used to exploit peat deposits:
- The cheapest but least efficient method consists of “shaving off” the top layer of peat. The disadvantage of this technique is that the structure is less coarse which has an undesirable effect on the air/water relationship.
- The second method consists of cutting the peat vertically. This is the most well known method from times past. The peat blocks that were previously used as fuel for cooking and heating houses were cut in this way. This is an expensive way of extracting peat.
When peat is cut into blocks it has to be turned by hand to dry out. The coarser the peat is, the better will be the balance between the water and air it contains. This ensures the roots develop better in the medium. The plants are healthier and the tendency of the mix to compress is reduced.
Sphagnum moss
Sphagnum moss is particularly suitable for use as a growing substrate because it is natural, light, clean and easy to work with. It has a low nutritional content; a pH that ranges from 3.5 to 4.5 and has good water retention properties (up to 20 times its own weight). The profile of high peat in the flat peat region of Northwest Germany, contains different, distinct layers that formed in different periods.
Prevent stress!
In this section we will give you some tips to prevent plant stress in your growing room. Besides publishing CANNAtalk, CANNA also produces some useful things to help you with your growing hobby.
TIP #1: reduce the chance of fungi in the potting soil
In a root-system that is functioning properly, some roots will die off and new ones will form. The dead roots form an ideal food source for pathogens. Once pathogenic fungi have multiplied in the dead root material they form a threat to the healthy roots, which can be easily attacked causing a sharp decline in overall root function.
As a result, the entire plant will be stressed and growth will be stunted. CANNAZYM should be used to prevent this. The enzymes in CANNAZYM will ensure dead root-material is quickly converted into minerals and sugars. This is important because these elements form an important nutritional source for the plants and the soil environment.
Also, rotting produces poisonous materials, which will be counteracted with the chance of infection by pathogenic fungi reduced considerably. In addition, a number of easily absorbable vitamins are added to CANNAZYM, which will stimulate the plants into producing new roots. For these reasons CANNAZYM should be continually added to the feeding solution from the second week of cultivation, diluted at the ratio of 1:400.
TIP #2: 100% vegetable growing stimulator
RHIZOTONIC is a powerful, vegetable based root stimulator. It causes extra root growth and, in this way, helps the plants to become established quickly.
For this reason RHIZOTONIC is an ideal product for rooted cuttings and plants that need to be potted up, or for plants that have developed badly after being in a state of shock. RHIZOTONIC contains a wide variety of trace elements that are advantageous for the plant. The first 2 or 3 times you use RHIZOTONIC you should add it to the feeding water at the ratio of 1:250 or spray it on the leaves.
TIP #3: higher yields
PK 13/14 is a pure, high value mix of phosphorus and potassium that is given frequently during flowering. It is given to the plants along with the feeding about 7-10 days after flowers appear for about 10 days, adjustable for the grower and crop.
During flowering the plants need extra phosphate (P) and potassium (K) and giving PK 13/14 will satisfy this need. PK 13/14 dissolves very easily and is immediately available to the plants. The results speak for themselves: higher yields and really substantial flower formation.
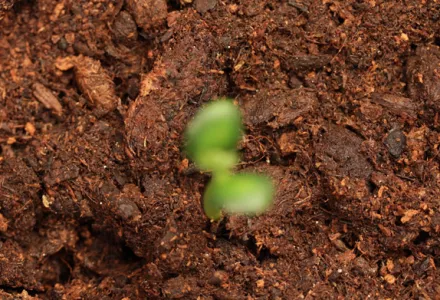
TIP #4: get off to a good start
A good start is essential in achieving a good harvest. Take extra care to ensure you buy seeds that are suitable for the type of cultivation you have chosen: indoors or outdoors. Germinating your seeds can best be done by following the plan given below step by step.
- Place the seeds in a glass of water. Renew the water every day if necessary. A seed is viable when it opens and a small root emerges.
- Do not allow the roots to become to long as they can and will break-off during planting. This make’s it impossible for a plant to form.
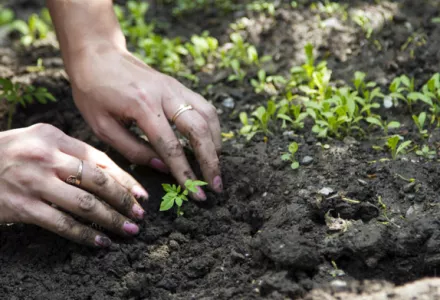
- Remove the germinated seeds from the water. Plant them carefully in individual pots, in a hole that is about two to three centimetres deep and carefully cover them with a little soiless mix. After about a week, the first plants will emerge from the ground and if everything goes well, 80-90% will actually produce plants.
- Plant the small plants in a good quality potting soil such as Terra Professional Plus. Press the mix lightly. Airiness is very important for the development of a good root-system.
- Never sow too deep since this will prevent the germinated seed from emerging and the plants will not develop. Generally speaking, a sowing depth of around twice the width of the seed is sufficient.
- In order to stimulate better root growth and to assist the plants in establishing themselves, it is recommended that you give RHIZOTONIC 2 or 3 times during the first week.
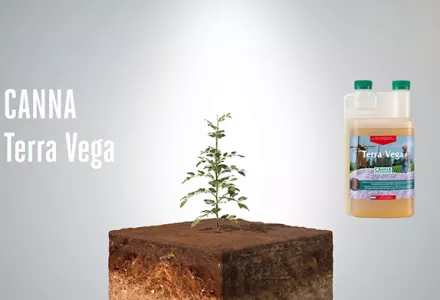
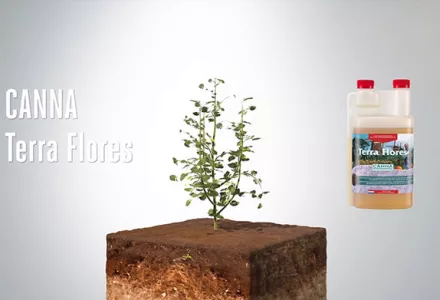
- Give your plants Terra Vega in the growing phase and change to Terra Flores in the flowering phase. The flowering phase begins when the first flowers appear.