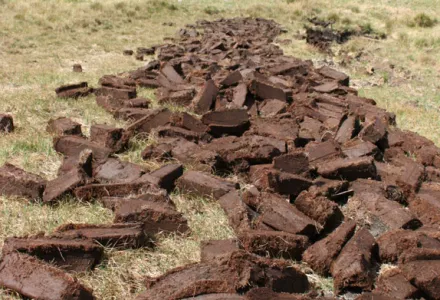
Peat is naturally quite acidic (pH 3.5-4.5) so lime must be added to raise the pH. Off the shelf, most potting mixes contain lime. The amount of lime that must be added depends on the composition of the peat. For example, garden peat always needs more lime than peat litter to raise the pH.
On average, potting soil needs 11 – 13 lbs of lime per m3 (264 gallons) to increase the pH. After adding the lime it will take a few weeks for the pH to stabilize. If no lime is added, or not enough, high concentrations of elements such as manganese, iron and phosphate will become highly available which may lead to signs of over feeding or toxicity.
The concentration of aluminium can rise to toxic levels for the plant, causing root thickening, which will restrict nutrient uptake. If your potting mix’s pH is too low, the addition of 20 grams of lime (Dolomitic) per 2.65 gallons (10 litres) will raise the pH one point.
The correct degree of acidity for potting mediums is between 5.8 and 6.2; values higher than 6.2 can lead to phosphate depositing out of solution in the form of calcium phosphate, making it less accessible to the plant.
What is the RHP?
Potting soil mixes that are available on the market can vary greatly in quality from one to the other. In the Netherlands the RHP foundation focuses on quality maintenance and control of peat products, soil components, potting soil mixes and substrates such as coco, perlite, pumice stone etc. Substrates and substrate components that have the RHP quality mark are safe mixes (few weeds and free of disease) but they do not offer any guarantee of a successful harvest. In fact, the RHP quality mark does not say anything about the precise structure and chemical make up of the potting soil. Potting soil mixes can also vary greatly in price. Potting soil mixes based on garden peat are generally cheaper than mixes based on airy white peat. It also follows that coarser grades of white peat are many times more expensive than the fine grades.

Reliable measuring method
The most reliable way of measuring the nutrients present in the soil is to use the 1:1.5 extraction method, which is used to determine the root environment’s EC and pH. The EC and the pH of the drainage water will vary because soil and soiless mixes are capable of holding back a number of elements while excluding others. It is best to carry out a 1:1.5 analysis after three to five weeks of cultivation. The easiest way to make this analysis is to follow the plan given below step by step:
- Take a soil sample. This can be done with a ground drill or a spoon. Take the soil from a large number of different places (and pots) to ensure that the sample is representative.
- Put the sample in a bowl and determine if it is moist enough. This is done by squeezing some soil in your hand; if moisture just barely comes out it is OK. To increase the sample’s moisture content add distilled water. Mix the soil well after adding water.
- Take a 250 ml measuring jug and fill it with 150 ml of distilled water. Add soil to bring it to 250 ml, mix it well and leave it for at least 2 hours.
- Mix it well once again and measure the pH. Filter the mixture that you now have and measure the EC. Target values for the EC are between 1.1 and 1.3 and for the pH between 5.8 and 6.2.
Better results
Previous research into the proportional balance of water and air in CANNA substrates led to CANNA set up practical tests using soiless potting mixes comprised of high quality, porous basic materials. These mixes were compared with the popular soiless potting mixes containing perlite that are available on the market.
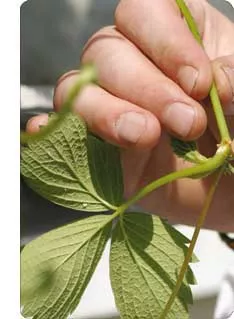
In different growing rooms, half of the plants were set in a soiless potting mix containing perlite and the other half was set in the airier mix. Climate and feeding was identical for all plants. After three weeks clear differences could be seen. The plants on the airy mix showed significantly better growth; on average 2 inches more development in length and they had more robust stems. There were fewer limp hanging leaves during the night indicating the plant was receiving sufficient water in the dark, a prerequisite for optimal growth and flowering. The results of these tests show the importance of making abundant air available to the root environment.
A good start is half the work!
A good start is essential in achieving a good harvest. Take extra care to ensure you buy seeds that are suitable for the type of cultivation you have chosen: indoors or outdoors. Germinating your seeds can best be done by following the plan given below step by step.
- Place the seeds in a glass of water. Renew the water every day if necessary. A seed is viable when it opens and a small root emerges.
- Do not allow the roots to become to long as they can and will break-off during planting. This makes it impossible for a plant to form.
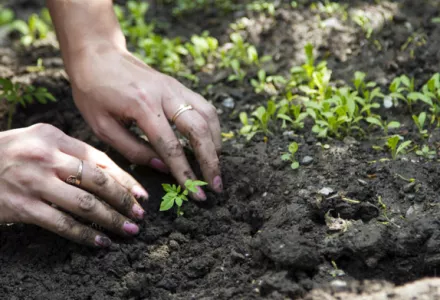
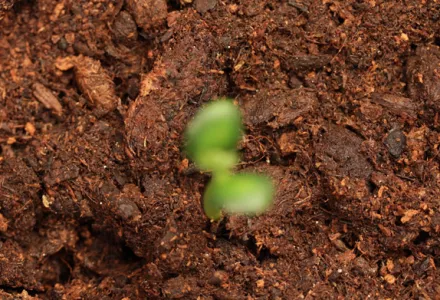
- Remove the germinated seeds from the water. Plant them carefully in individual pots, in a hole that is about two to three centimetres deep and carefully cover them with a little soiless mix. After about a week, the first plants will emerge from the ground and if everything goes well, 80-90% will actually produce plants.
- Plant the small plants in a good quality potting soil such as Terra Professional Plus. Press the mix lightly. Airiness is very important for the development of a good root-system.
- Never sow too deep since this will prevent the germinated seed from emerging and the plants will not develop. Generally speaking, a sowing depth of around twice the width of the seed is sufficient.
- In order to stimulate better root growth and to assist the plants in establishing themselves, it is recommended that you give RHIZOTONIC 2 or 3 times during the first week.
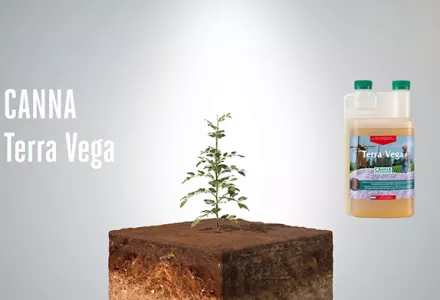
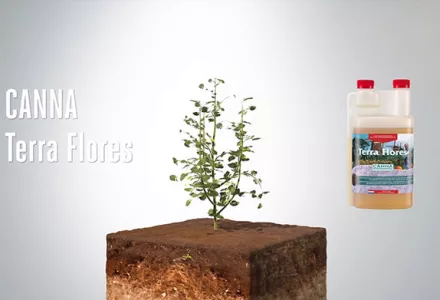
- Give your plants Terra Vega in the growing phase and change to Terra Flores in the flowering phase. The flowering phase begins when the first flowers appear.